 how-to
Solar Pool Heating Installation Process Explained
Table of Contents
- Solar Pool Heating Installation Process Explained: Step-by-Step
- What You'll Need Before You Start
- Step 1: Sizing Your System and Choosing the Mount Location
- Step 2: Mounting Solar Collectors and Protecting Roof Integrity
- Step 3: Plumbing, Bypass Valve, and Filtration Integration
- Step 4: Wiring, Controls, and System Operation
- How Long Does Solar Pool Heating Installation Take?
- DIY vs Professional Solar Pool Heater Installation
- Solar Pool Heater Maintenance Tips for Long-Term Performance
- Frequently Asked Questions
Last Updated: October 8, 2026
Solar Pool Heating Installation Process Explained: Step-by-Step
Solar pool heating installation is the process of mounting solar collectors, tying them into your pool's plumbing, and wiring the controls so the sun does the work your gas heater used to do.
The payoff is real. A well-built system can extend your swimming season by up to nine months and cut the energy costs of heating a pool sharply.
Below, we break down the full solar pool heating installation process step by step, including the parts most guides skip.
What You'll Need Before You Start
Gather your tools and materials before you climb anything. A half-finished install is a leak waiting to happen.
Tools:
- Drill with hole saw and driver bits
- PVC pipe cutter or hacksaw
- Tape measure and level
Materials:
- Solar collectors and mounting hardware
- PVC piping, fittings, and primer/cement
- Bypass valve and check valve
Prerequisites:
- A roof or ground area with good sun exposure
- Access to the pool's filtration pump and return line
- A power source for the controller
Check with your local building department before you buy anything. Many areas require a permit for roof-mounted equipment, and rules vary by city and county.
Step 1: Sizing Your System and Choosing the Mount Location
Size your collector array to roughly 50% to 100% of your pool's surface area, then pick a mount spot with full sun from mid-morning to late afternoon. Undersizing is the most common mistake we see, and it leaves you with lukewarm water on cool days. Oversizing wastes money on collectors you'll rarely need and can push flow rates below the manufacturer's minimum, which actually reduces heat transfer.
The Sizing Formula (and a Worked Example)
Use this two-step calculation:
- Pool surface area = length × width (for a rectangular pool). For a kidney or freeform pool, break it into rectangles and add them.
- Collector area = pool surface area × sizing factor.
Sizing factor depends on your goal:
| Goal | Collector Area vs. Pool Area |
|---|---|
| Mild season extension (warmer climate) | 50%-60% |
| Full season extension | 70%-80% |
| Year-round swimming (cooler climate) | 100% or more |
Worked example: A 20 ft × 20 ft pool has 400 sq ft of surface. For full season extension, multiply by 0.75 to get 300 sq ft of collector. If each panel is 4 ft × 10 ft (40 sq ft), you need 300 ÷ 40 = 7.5, so round up to 8 panels.
Two more rules of thumb worth knowing:
- One collector per 10 sq ft of pool surface is a quick field estimate many installers use for a moderate season extension.
- Flow rate matters as much as area. Most unglazed collectors want roughly 0.1 gallons per minute per square foot of collector. An 8-panel, 320 sq ft array wants about 32 GPM through the array. If your pump can't deliver that, add panels in parallel, not series.
Orientation, Tilt, and Shade
Collectors should face within about 45 degrees of true south. Tilt angle is less critical than orientation for pool heating, but a common rule is to set tilt equal to your latitude minus 10 to 15 degrees for year-round performance, or latitude plus 10 to 15 degrees if you only heat in summer.
Where to mount:
- South-facing roof: best sun all day
- West or southwest roof: good afternoon heat
- Ground rack: easiest access, no roof risk, and easy to adjust tilt seasonally
Avoid shade from trees, chimneys, or neighboring buildings. Even partial shade during peak hours cuts output. A cheap solar pathfinder app or a shade study over one sunny day will tell you more than guessing.
Permitting and Code Basics
This is the step most guides skip, and it's the one that can stall your project for weeks.
- Check with your local building department before you buy anything. Many jurisdictions require a permit for roof-mounted equipment, structural attachments, and any new electrical circuit for the controller.
- Roof-mounted systems may trigger structural review if the added dead load and wind uplift exceed what the roof was designed for. A licensed installer or structural engineer can confirm.
- Some states and utilities offer rebates or property tax exemptions for solar pool heating. Check your state energy office and utility website, the paperwork is usually easier to file before installation than after.
Get the sizing and the mount location right, and the rest of the install is straightforward plumbing and wiring.
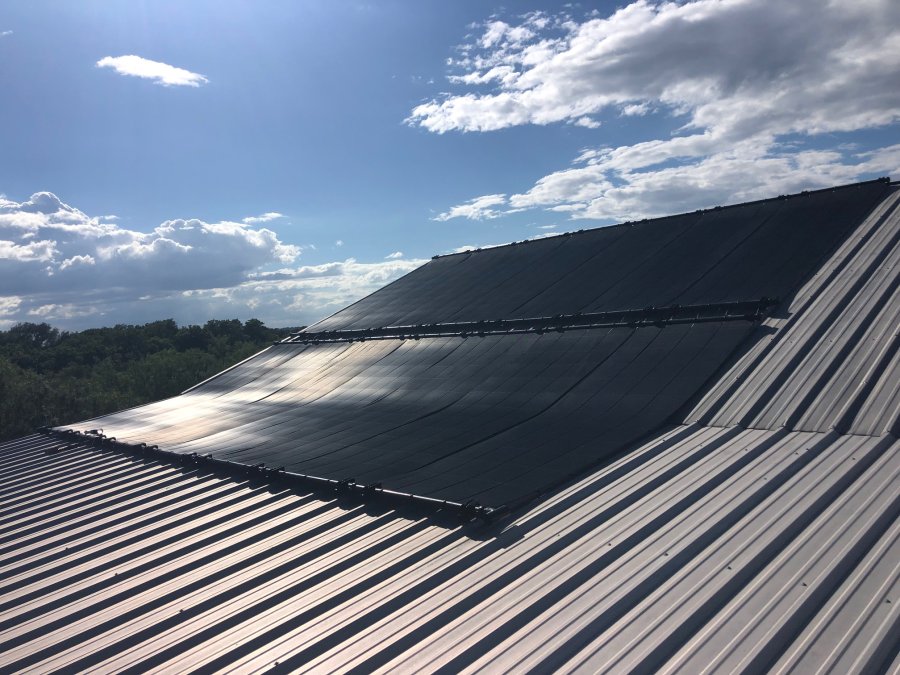
Step 2: Mounting Solar Collectors and Protecting Roof Integrity
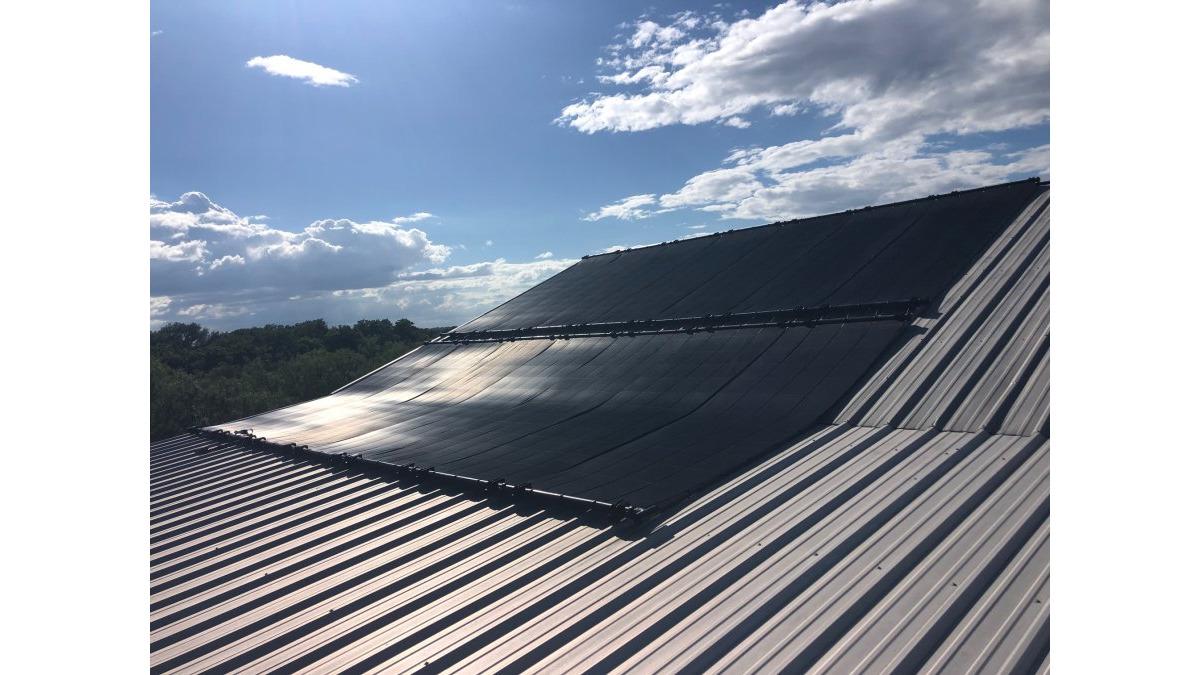
Secure collectors with proper mounting hardware and seal every roof penetration to prevent leaks. This is where cheap installs fail, and where a professional job pays off for decades.
Roof Pitch, Sun Exposure, and Mounting Hardware
Roof pitch affects how much sun hits the panels and how well water drains out of them. A moderate pitch works well; a steep pitch needs stronger brackets and careful drainage planning.
Use these hardware basics:
- Stainless steel lag bolts rated for roof loads
- Mounting brackets matched to your collector type
- Flashing at every penetration point
Step 3: Plumbing, Bypass Valve, and Filtration Integration
Plumb the collectors into your pool's return line with a bypass valve so you can route water around the array when it isn't needed. This gives you control over when the system heats and when it doesn't.
The basic plumbing path:
- Tap the return line after the filter and pump
- Install the bypass valve and check valve
- Run supply line up to the collectors
- Return heated water back to the pool
A plumbing manifold distributes flow evenly across the array. Uneven flow means some panels do all the work while others sit cool.
Above-Ground vs. In-Ground Pool Connections
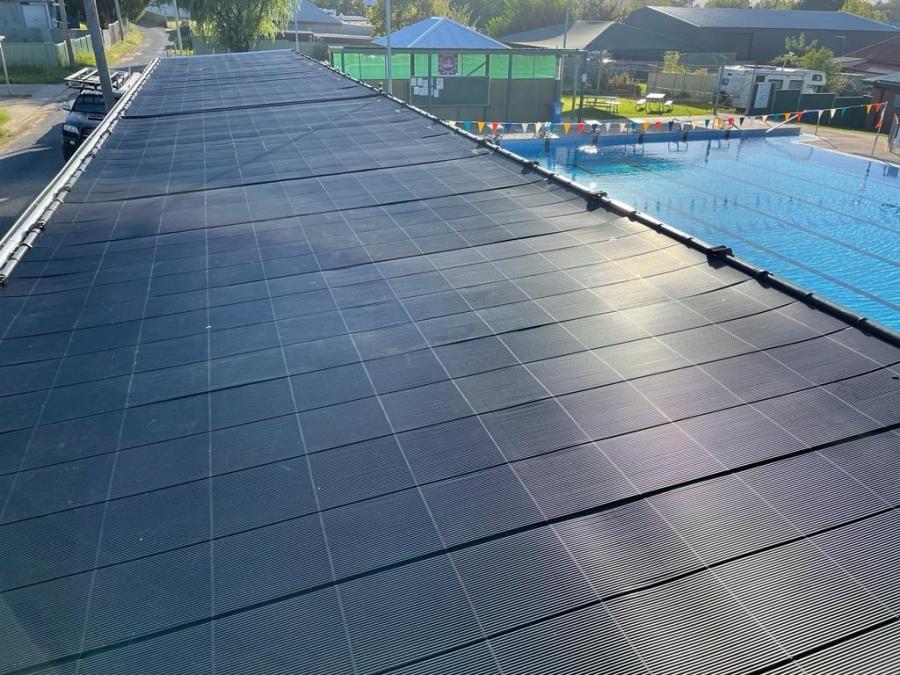
Above-ground pools use simpler connections and often a ground-mounted rack, since many above-ground pools can't support roof-mounted panels. In-ground pools typically tie into existing PVC return lines and can support either roof or ground arrays.
| Pool Type | Typical Mount | Connection Style | Notes |
|---|---|---|---|
| Above-ground | Ground rack | Flexible hose or PVC | Simpler, lower cost |
| In-ground | Roof or ground | Rigid PVC | More capacity, more planning |
Step 4: Wiring, Controls, and System Operation
Wire the controller to a power source and connect the temperature sensors at the pool and the collector. The controller runs the diverter valve automatically, sending water to the panels only when they're warmer than the pool.
Wiring checklist:
- Mount the controller near the pump
- Run sensor wire to pool water and collector
- Connect the actuator to the diverter valve
Once powered, the system manages itself. When the collector sensor reads warmer than the pool, the valve opens. When it doesn't, water bypasses the array.
How Long Does Solar Pool Heating Installation Take?
Most residential solar pool heating installations take one to three days, depending on system size and roof complexity. A simple ground-mounted setup on an above-ground pool can finish in a single day, while a large roof array with long pipe runs takes longer.
Factors that add time:
- Roof height and pitch
- Distance from pool to collectors
- Permit inspections and scheduling
Plan for a follow-up visit to check for leaks and fine-tune the controller.
DIY vs Professional Solar Pool Heater Installation
DIY solar pool heater installation can work for simple ground-mounted systems, but roof-mounted arrays and complex plumbing are best left to professionals. The trade-off is upfront cost versus risk of leaks, poor performance, and voided roof warranties. The right answer usually comes down to three questions: where the collectors go, how complex the plumbing is, and how much risk you can absorb if something fails.
The Real Cost Picture
A DIY ground-mounted kit for an above-ground pool typically runs a few hundred to a couple thousand dollars in materials, depending on collector area and controller features. A professionally installed roof array for an in-ground pool usually costs several thousand dollars, with the labor and permitting making up a meaningful share of the total.
What DIY saves in labor, it can cost back in:
- Roof repairs if flashing is done wrong, a slow leak can rot decking and sheathing for years before it shows inside.
- Redone plumbing if flow rates or bypass logic are wrong.
- Permit re-inspection fees if the first inspection fails.
When DIY Makes Sense
- You're mounting on the ground, not the roof.
- Your pool is above-ground with simple, accessible plumbing.
- You're comfortable with PVC solvent welding and basic low-voltage wiring.
When to Go Professional
- You're mounting on a roof, especially a steep or tile roof.
- Your pool is in-ground with existing PVC returns that need to be cut and re-routed.
- You want warranty coverage on both the equipment and the workmanship.
What to Ask Any Installer
Before you sign, ask:
- Are you licensed and insured in this state, and can I see the certificate?
- Who pulls the permit, and who pays if the inspection fails?
- What's the workmanship warranty, and how long does it last?
A Quick ROI Frame
Solar pool heating has no fuel cost, so the payback comes from avoided gas or electric heating. A common pattern is that a correctly sized system pays for itself over a few seasons compared to running a gas heater through an extended swim season, though the exact break-even depends on local utility rates, how often you swim, and how much you extend the season.
At Solar Pool Heating Texas, we handle both residential and commercial installs, and we stand behind every job with a 100% satisfaction guarantee.
Solar Pool Heater Maintenance Tips for Long-Term Performance
Solar pool heater maintenance is mostly about keeping water flowing and panels clean. A few simple habits keep your system running for years.
- Rinse panels monthly to remove dust and debris
- Check the pressure gauge for flow changes
- Inspect the bypass valve and check valve each season
If something breaks, quick repairs matter. Solar Pool Heating Texas is available 24/7 for emergency repairs, so a small issue doesn't turn into a lost season.
Frequently Asked Questions
How long does it take to install a solar pool heater?
Most residential solar pool heating installations take one to three days, depending on system size, roof complexity, and whether plumbing runs are short or long. A straightforward roof mount on a single-story home with an in-ground pool often finishes in a day. Larger commercial systems or installations requiring extensive pipe runs and new electrical controls can stretch to a week. Your installer should give you a specific timeline after a site assessment.
Can I install a solar pool heater myself or do I need a professional?
DIY solar pool heater installation is possible for above-ground pools with simple, low-pressure setups, but roof-mounted systems on in-ground pools involve roof penetrations, plumbing manifolds, bypass valves, and electrical controls that are easy to get wrong. Mistakes can cause leaks, void roof warranties, or reduce heating efficiency. For most homeowners, professional installation pays for itself through proper sizing, code compliance, and warranty coverage.
Does a solar pool heater require a permit?
Permit requirements vary by city and county. Many jurisdictions require a building or plumbing permit for roof-mounted solar collectors and any electrical work, while some allow minor installations without one. Before you buy, check with your local building department. A licensed installer will typically handle the permitting paperwork for you, which is one practical reason to hire a professional rather than going the DIY route.
What maintenance is required after installation is complete?
Solar pool heater maintenance is minimal. Rinse collector panels a few times a year to remove dust and debris, check for leaks at pipe fittings and the bypass valve, clean or replace the filter regularly to protect water flow rate, and inspect mounting hardware for loosening. In colder months, winterization steps like draining the collectors and closing the bypass valve prevent freeze damage. Most systems last 10 to 20 years with this basic care.
Heating a pool with the sun takes planning, but the payoff is a longer season and lower bills. If you'd rather skip the guesswork, Solar Pool Heating Texas handles sizing, permitting, installation, and repairs with a 100% satisfaction guarantee and round-the-clock support. Get a free consultation and find out how much season you can add.