 how-to
7 Common Solar Pool Heating Maintenance Issues to Fix
Last Updated: October 31, 2026
Quick Summary
Common solar pool heating maintenance issues are clogged tubes from leaves and debris, panel and fitting leaks, trapped air causing noisy valves, low water pressure from flow restrictions, and dirty filters. Most trace back to debris, water flow, or time, and routine checks catch them early.
- Check the diverter valve first when the pump runs but no heat reaches the pool.
- Clean collectors and rinse filter media when heating turns weak or uneven.
- Mark the pool level with the loop off for 24 hours to rule out normal water loss.
- Skim debris off collectors monthly and confirm strong, steady flow at the return.
- Call a professional for leaks you cannot locate, persistent low flow, or storm damage.
Table of Contents
- How a Solar Pool Heating System Works and Why Issues Appear
- Solar Pool Heater Troubleshooting: A Symptom-to-Cause Chart
- Solar Pool Heater Clogged Tubes: Debris, Leaves, and Filter Trouble
- Solar Pool Heating Panel Leaks: How to Find and Confirm Them
- Your Solar Pool Heater Maintenance Checklist for Every Season
- When to Call a Professional for Solar Pool Heating Repair
- Get a Free Consultation to Protect Your System
- Frequently Asked Questions
How a Solar Pool Heating System Works and Why Issues Appear
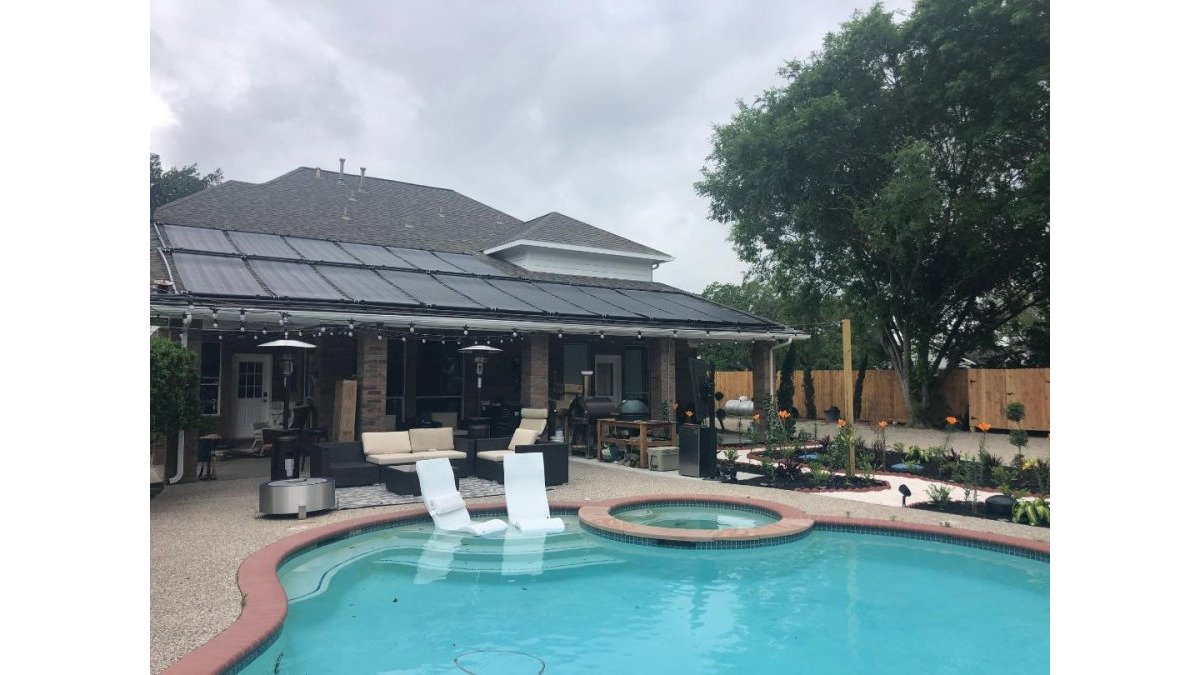
Solar pool heating is the process of routing pool water through collectors on a roof or rack, where the sun warms it before it returns to the pool. Common solar pool heating maintenance issues tend to trace back to three things: debris, water flow, and time. A pump pushes water up to the panels. The collectors absorb heat. A valve sends the warmed water back to your pool. It is a simple loop, which is exactly why small problems show up fast.
The U.S. Department of Energy guide to solar pool heating explains the basic loop clearly: filter, pump, collectors, return. Every issue in this guide starts somewhere in that chain.
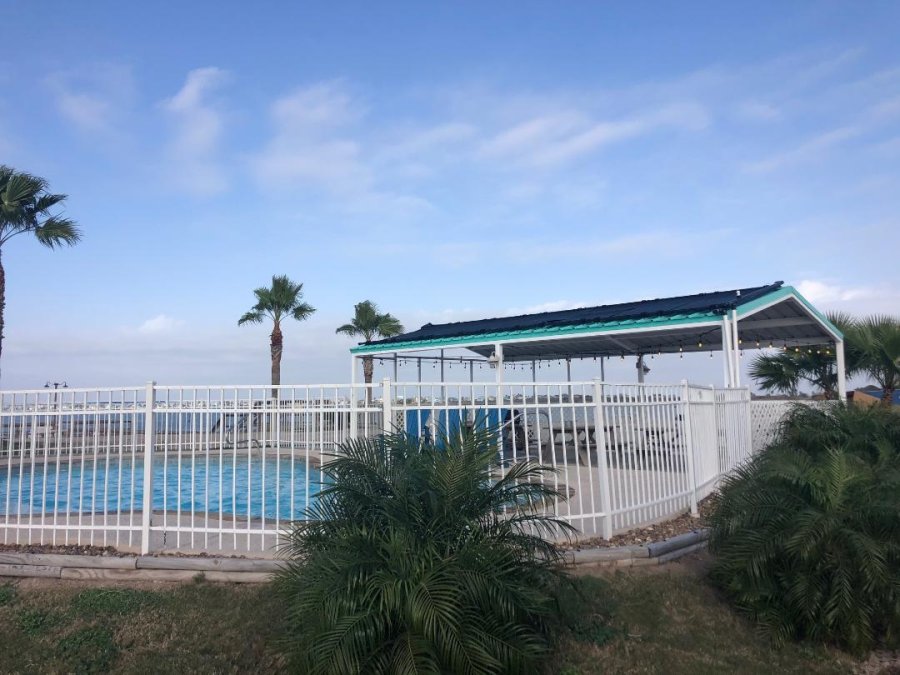
For a fuller walkthrough of the loop, read how solar pool heating works.
Solar Pool Heater Troubleshooting: A Symptom-to-Cause Chart
Start with the symptom, not the guess. Solar pool heater troubleshooting gets much faster when you match what you see to the most likely cause before you touch anything. For a deeper walkthrough of fixes, see the maintenance and repair guide.
| Symptom | Likely Cause | First Check |
|---|---|---|
| No heat, pump running | Valve not diverting to panels | Valve alignment |
| Weak heating | Clogged filter or dirty collectors | Filter media, panel surface |
| Low water pressure | Flow restriction or airlock | Filter, return line |
| Noisy valves | Air in the line or worn valve | Bleed air, inspect valve |
| Water on roof | Leaking connection or cracked panel | Fittings, collector body |
No Heat or Weak Heating
No heat usually means water is not reaching the panels. Check the diverter valve first. If it is open, move to the filter and the collectors.
Noisy Valves and Low Water Pressure
Noise often signals air trapped in the line. Low pressure points to a restriction. Both are flow problems, not heating problems.
Solar Pool Heater Clogged Tubes: Debris, Leaves, and Filter Trouble
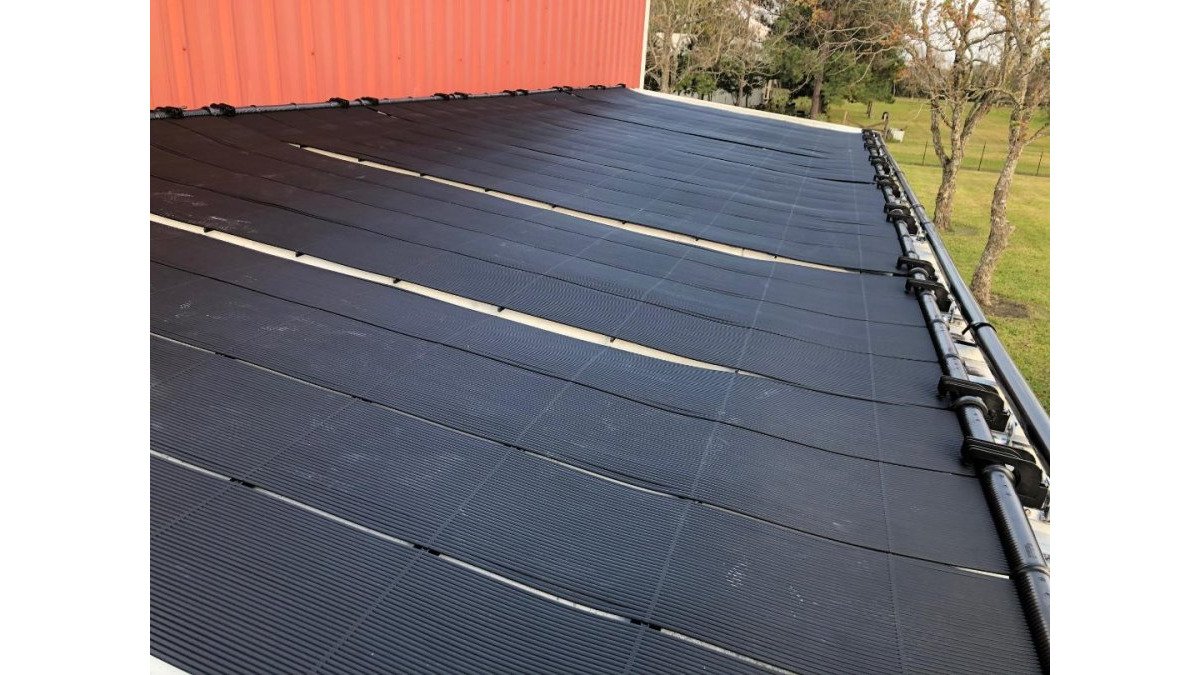
Clogged tubes are a common cause of reduced performance. Leaves, dirt, and sand collect on the collectors or jam the filter, and flow drops. When flow drops, heating performance drops with it.
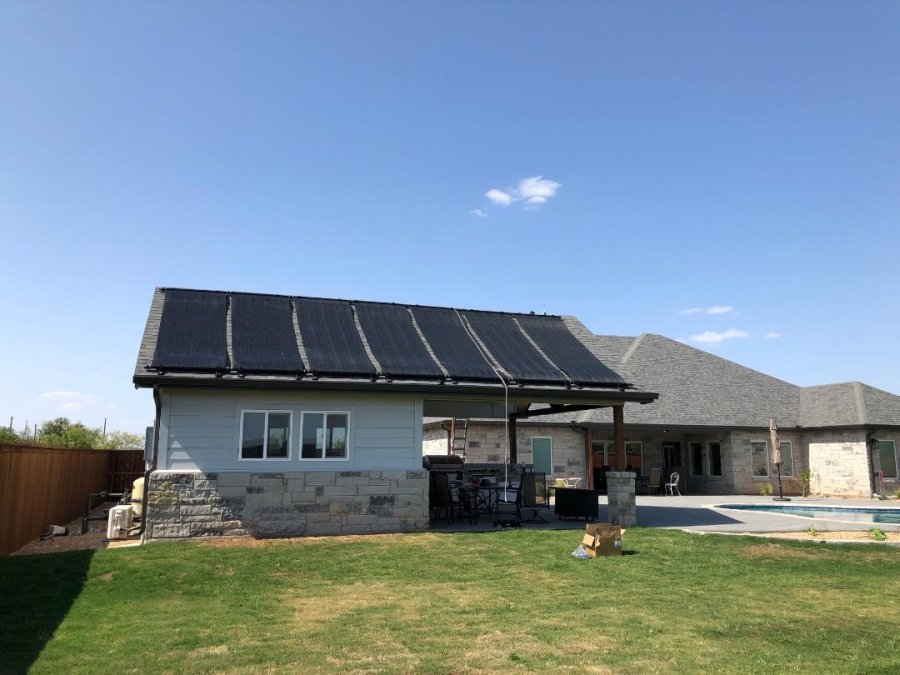
Watch for these signs:
- Weak or uneven heating
- Low water pressure at the return
- Visible debris on the collectors
- A filter that clogs faster than usual
Clean the collectors and rinse the filter media. Bird damage and storm debris speed this up, so check after every big blow.
Solar Pool Heating Panel Leaks: How to Find and Confirm Them
A leak in the solar loop is not the same thing as a pool losing water. Before you assume the collectors are failing, isolate the loop and confirm where the water is actually going. Suspected panel leaks often turn out to be a fitting, a valve, or a pool-side loss rather than a problem with the roof array.
Step 1: Rule Out Normal Pool Water Loss
Pools lose water to evaporation, splash-out, and backwashing every day (the EPA). Mark the pool level at the skimmer, shut the system down for 24 hours, and re-mark. If the level holds with the solar loop off but drops when it runs, the loss is in the loop. If it drops either way, look at the pool shell, light niches, skimmer throat, and hydrostatic valves first.
Step 2: Isolate the Solar Loop
Close the diverter valve so no water travels to the collectors, then run the pump on the pool-only circuit. A pool level that stabilizes confirms the loss is upstream of the panels. A level that keeps falling points to the pool plumbing or the equipment pad, not the collectors.
Step 3: Pressure-Test the Loop
A technician can cap the supply and return at the pad and pressurize the loop with air or water. A gauge that will not hold tells you the loop is breached. This is the only reliable way to confirm a collector leak without pulling panels off the roof.
Step 4: Distinguish Collector Leaks from Plumbing and Valve Leaks
| What You See | Where to Look |
|---|---|
| Wet spots directly under the array | Collector body, header, or panel seam |
| Drips at the roof penetration | Supply or return pipe, roof boot, or coupling |
| Water at the equipment pad | Diverter valve, check valve, or union |
| Air in the return line with normal pressure | Suction-side air draw, not a panel leak |
| Pool level drops only when solar runs | Loop breach, confirm with a pressure test |
Step 5: Check the Common Failure Points First
Leaks cluster at the same places on almost every system: the header-to-panel seam, the union where the roof pipe meets the collector, the diverter valve stem, and any spot where the collector has rubbed against a rack or roof surface. Ultraviolet exposure hardens plastic over time, and a collector that has been on a roof for a decade or more is more likely to crack at a seam than in the middle of a panel.
Step 6: Retest After Any Repair
Tighten or reseal the fitting, then run the system and watch the same spot for a full heating cycle. A repair that holds for one cycle but fails the next usually means the underlying cause, movement, heat cycling, or a worn union, was never addressed.
If the leak will not confirm, or if it reappears after a repair, that is the point to bring in a technician with pressure-testing equipment. Our contractor selection guide covers what to ask before anyone touches the roof.
Your Solar Pool Heater Maintenance Checklist for Every Season
A solar pool heater maintenance checklist only works if it has a cadence. Split the work into what you can do yourself and what belongs to a technician, then run it on a monthly, seasonal, and post-storm rhythm. Solar pool heating needs no maintenance beyond these routine checks, which is one reason it is the smartest, most cost-effective way to heat a pool.
Monthly Checks (Homeowner)
- Skim leaves, seed pods, and debris off the collectors
- Confirm the diverter valve is fully aligned to the solar position
- Watch the return line for strong, steady flow
- Check the filter pressure gauge and backwash or clean when it climbs
- Look for new wet spots on the roof or at the pad
Seasonal Checks (Spring and Fall)
- Clean or replace filter media
- Inspect every visible fitting and union for drips or cracking
- Confirm the collectors are secure on the rack and not rubbing
- Test heating performance on a clear day and note the temperature rise
- Check the pump for unusual noise or vibration
Post-Storm Checks
- Look for hail dings, cracked collector faces, and displaced panels
- Clear storm debris from the array and the roof valleys above it
- Confirm no branches or roof material landed on the loop
- Recheck flow and heating after the system restarts
What Belongs to a Professional
Pressure-testing the loop, repairing a collector body, replacing a diverter valve, and any roof work are technician tasks. Homeowners should handle debris, filter care, valve alignment, and visual inspection, nothing that requires climbing or opening the loop.
Water Chemistry and Seasonal Operation
Balanced water protects the collectors as much as the pool. Low pH and high chlorine accelerate corrosion inside metal components, and scale from hard water coats collector interiors and cuts heat transfer. Keep pH, alkalinity, and calcium hardness in range, and in freezing conditions drain the exposed loop or run freeze protection so water does not sit and expand inside the collectors. Seasonal shutdown done correctly is what carries a system through to its next swimming season.
When to Call a Professional for Solar Pool Heating Repair
Call a professional when the fix is beyond a filter clean or a valve reset. Leaks you cannot confirm, persistent low flow, and storm damage all point to a pro.
Signs it is time to call:
- A leak you cannot locate
- Flow that stays low after cleaning
- Cracked or hail-damaged collectors
- A system near the end of its 15 to 20 year lifespan
Repair or replace? If the collectors are failing across the array, replacement makes more sense than patching. Solar Pool Heating Texas handles both, and our team is available 24/7 for emergency repairs. When you are ready to hire help, our contractor selection guide walks you through the questions to ask.
Get a Free Consultation to Protect Your System
Solar pool heating is the smartest, most cost-effective way to heat a pool. It needs no maintenance beyond routine checks, it pays for itself quickly, and it is why more Texas pool owners are choosing solar over gas or electric heating. Our systems extend your swimming season by up to nine months, and our 100% satisfaction guarantee backs every job.
Get started with Solar Pool Heating Texas and keep your system heating all season. Request your free consultation, or follow our step-by-step quote guide to get moving today.
Frequently Asked Questions
Why is my solar pool heater not heating the pool?
The most common causes are an airlock in the plumbing, a valve set to the wrong position, a clogged filter, or debris blocking the collectors. Check that the diverter valve sends water to the roof panels, confirm the pump is running at full flow, and look for air bubbles returning to the pool. If water flow is weak or the panels stay cool to the touch on a sunny day, the system likely needs inspection before heating performance returns.
How do I check for leaks in solar pool heating panels?
Run the system on a dry, sunny day and watch the roof, piping, and connections for dripping water or damp patches. Check the strip collectors for cracks and look at the unions and clamps where panels join. A slow drop in pool water level with no other explanation also points to a leak. Shut the system down and call a professional if you spot a leaking connection or collector damage, since roof work carries fall risks.
How often should I inspect a solar pool heater?
A quick visual check every month during swim season catches most problems early, and a fuller inspection at the start and end of the season keeps the system efficient. Look for debris on the collectors, check the filter pressure, confirm valve alignment, and listen for noisy valves or air in the lines. Following a solar pool heater maintenance checklist on this schedule helps the system last as long as possible.
Can air in the system affect solar pool heating?
Yes. Air trapped in the plumbing creates an airlock that blocks water flow to the roof panels, so the pool stops warming even on bright days. Symptoms include sputtering returns, weak water pressure, and panels that stay cool. Confirm the pump is primed and the valves are aligned, then let the system purge. If air keeps returning, a leaking connection or a pump issue may be pulling air in, and a technician should trace it.