 how-to
Residential Pool Solar Panel Installation: Step-by-Step
Table of Contents
- Before You Start: Sizing and Site Assessment
- Pool Solar Collector Placement: Roof vs Ground Mounting
- The Solar Pool Heater Installation Process, Step by Step
- Can You Install a Solar Pool Heater for an Existing Pool?
- Solar Pool Heating vs Gas Heater: Which Fits Your Home?
- Commissioning, Testing, and Troubleshooting Your New System
- Residential Pool Solar Panel Installation: DIY or Professional?
- Frequently Asked Questions
Last Updated: October 19, 2026
Before You Start: Sizing and Site Assessment
Residential pool solar panel installation starts with two measurements, not a drill. Get sizing and site right, and the rest is plumbing and patience.
Here's the good news: solar pool heating is the smartest, most cost-effective way to heat a pool.
Solar pool heating is a system that circulates pool water through collectors on a roof or rack, where the sun warms it before it returns to the pool.
How Many Solar Collectors Does a Residential Pool Need?
The industry rule of thumb is simple: collector area should roughly match 50% to 100% of the pool's surface area.
But the rule is a starting point, not an answer. Here's how to land on a number.
Step 1, Measure surface area. For a rectangular pool, multiply length by width.
Step 2, Pick your ratio based on three factors:
- Sun exposure: Full-day sun means the lower end works. Afternoon shade pushes you higher.
- Cover use: A pool blanket keeps heat in, so you can size smaller.
- Target temperature and season length: Warmer goals and a longer swim season need more collector area.
Step 4, Match the array to your pump's flow. This is the step most guides skip.
Site Assessment: The Four Checks That Decide the Layout
Before committing to a location, run these four checks in order, each can eliminate a spot.
- Sun window: Six hours of direct sun minimum, ideally from 10 a.m. to 4 p.m. Walk the yard at those hours, not at noon on a whim.
- Shading: Trim trees or shift the layout. One shaded panel drags down the whole array, because water flows through panels in series and a cool panel pulls heat back out of water the previous panel just warmed.
- Roof orientation and pitch: South-facing is ideal, but east and west roofs still work at reduced output. Flat roofs need tilted racks to shed rain and catch more sun.
- Structural suitability: Roofs must handle the added weight and wind load. Panels full of water are heavy, and a roof that sags under them is a real safety problem. If your roof is older or you're unsure of its condition, have a structural professional look at it before you buy anything.
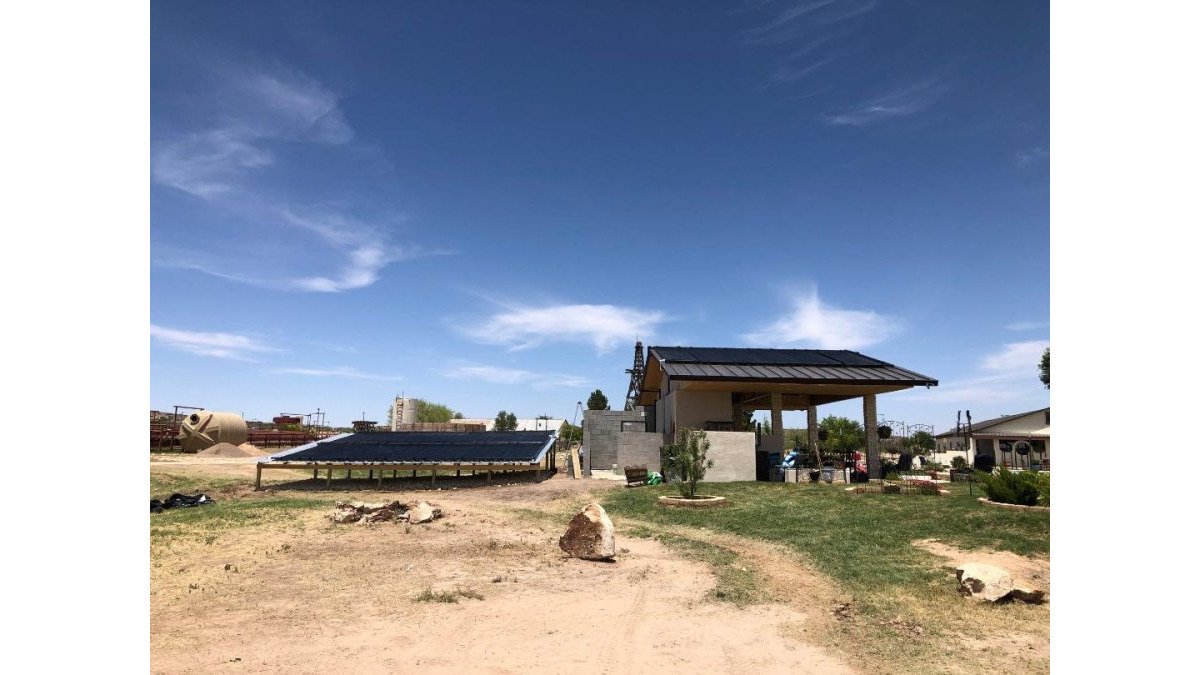
A ground rack is the fallback when a roof fails any check, shaded, too steep, or too fragile. Ground mounts also shorten the plumbing run, reducing head pressure and easing service.
Pool Solar Collector Placement: Roof vs Ground Mounting
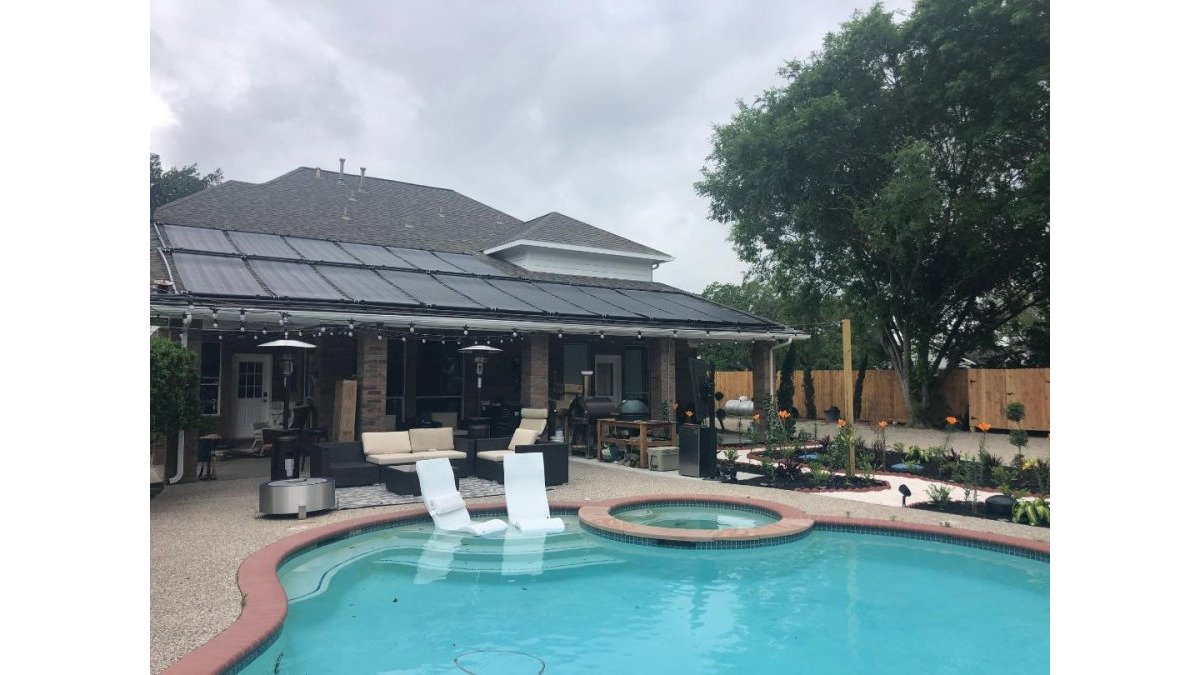
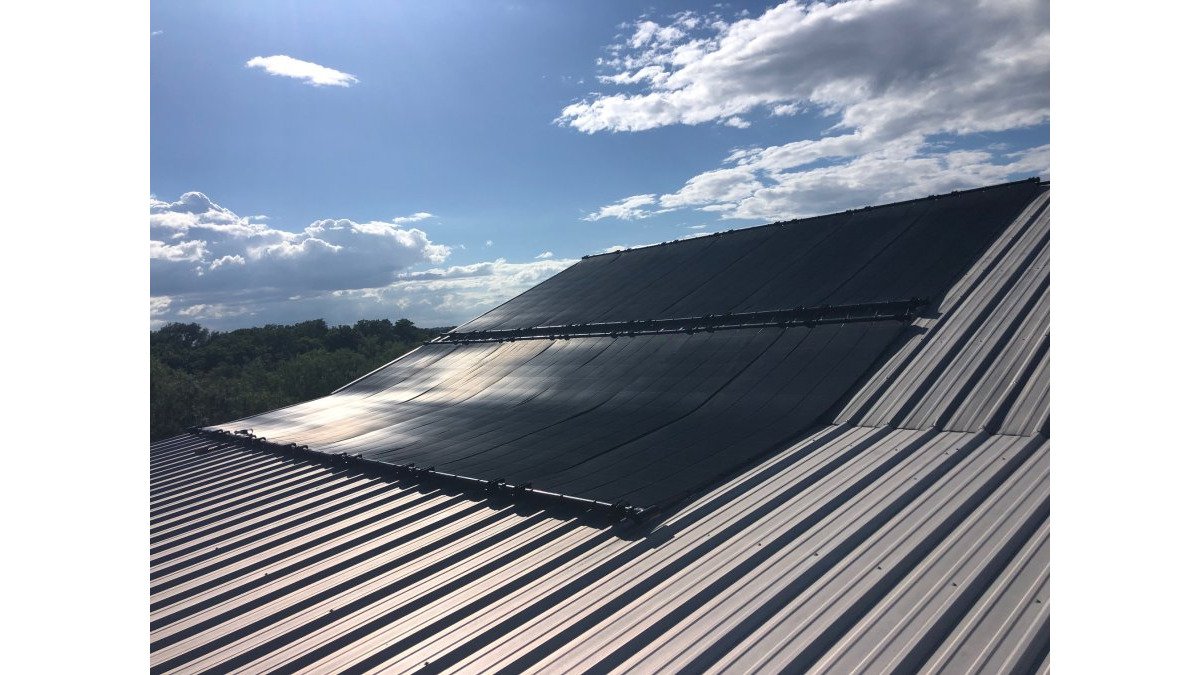
Roof mounting is the most common choice for residential pool solar panel installation. A south-facing roof gets unobstructed sun all day, keeps equipment out of the yard, and uses space you already have.
Ground mounting wins in specific situations:
- Shaded or steep roofs that can't carry collectors
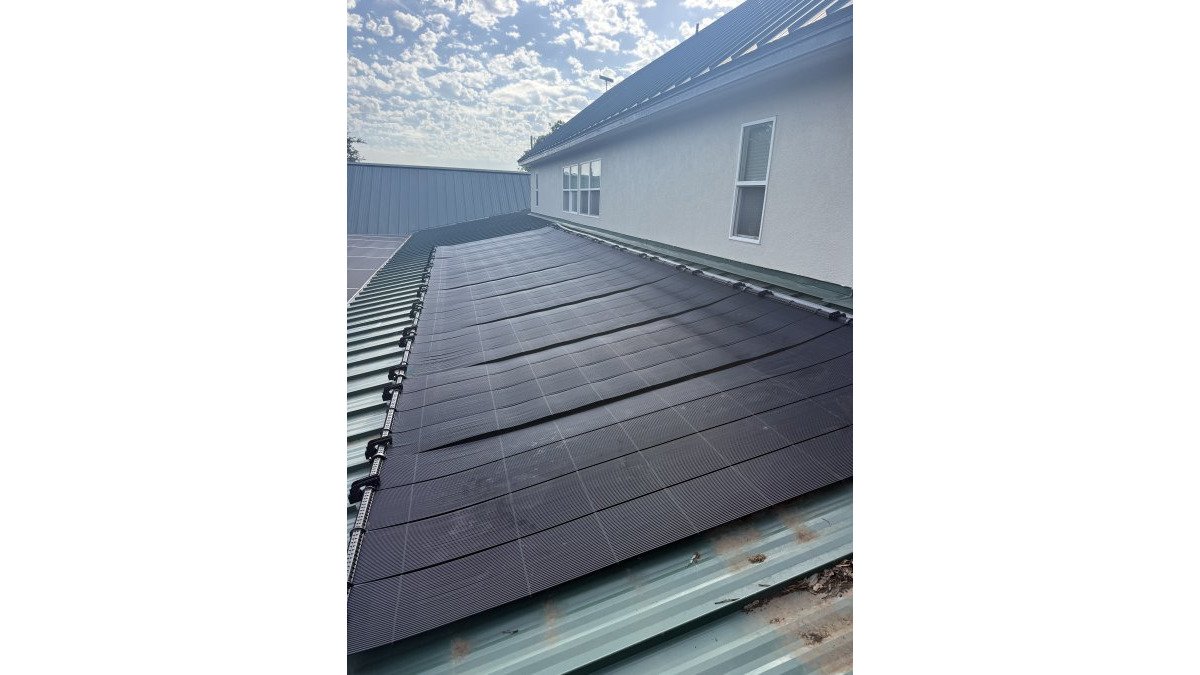
- Metal or tile roofs where mounting hardware is trickier
- Lots with open south-facing yard space and a short plumbing run
Check three things before you commit to any location:
- Sun exposure: Six hours of direct sun minimum, ideally from 10 a.m. to 4 p.m.
- Shading: Trim trees or shift the layout. One shaded panel drags down the whole array.
- Structural suitability: Roofs must handle the added weight and wind load. Panels full of water are heavy, and a sagging roof is a real safety problem. If your roof is older or you're unsure of its condition, have a structural professional look at it before you buy anything.
The Solar Pool Heater Installation Process, Step by Step
The solar pool heater installation process follows a fixed sequence: mount the collectors, connect them to each other, then tie the array into your pool's plumbing with a diverter valve, check valve, and flow control.
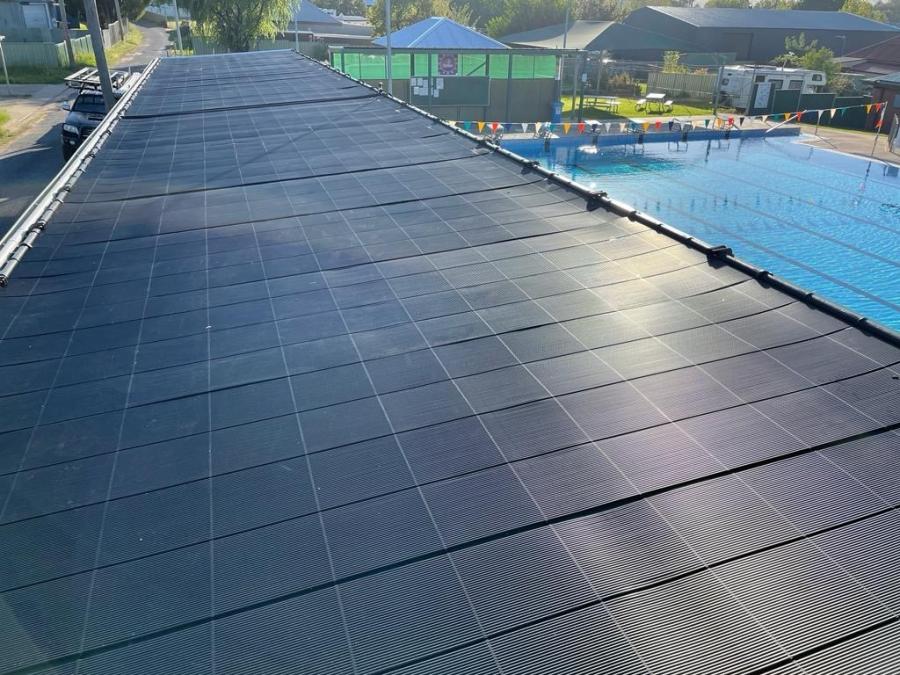
Plan on a full day for a typical residential array. Here's the order that keeps the job clean.
Connecting Panels and Securing Mounting Hardware
Lay out the panels dry on the ground first. Confirm the array fits your planned roof layout and that orientation matches the roof pitch.
Then work in this order:
- Set mounting hardware on the roof, spaced per the manufacturer's layout
- Lift panels into place and secure them to the mounts
- Join panels with panel connectors, pushing them fully home
A common mistake is tightening connectors before the whole array is aligned. Loosely assemble everything first, then torque it down. You'll avoid stressed joints and leaks.
Run the panels in series for a single array, or in parallel banks if you're covering a large roof, parallel banks balance flow across a wide layout and keep the last panel from starving.
Tying Into Your Existing Pool Plumbing
This is where most DIY jobs go wrong. The array needs a diverter valve (solar valve) installed after the filter and before the return line, plus a check valve and a vacuum relief valve.
Water flow works like this:
- The pool pump pushes filtered water toward the return
- The diverter valve sends water up to the collectors
- Heated water flows back down and rejoins the return line
Install the valve so panels can be isolated for servicing. Use adapters matching your pipe size, and glue joints only after a dry fit.
Three components separate a reliable tie-in from a leak-prone one:
- Check valve on the return from the array: stops pool water from back-siphoning through the panels when the pump shuts off at night, which would drain the roof and pull debris into the collectors.
- Vacuum relief valve at the high point of the array: lets air in when the pump stops so the panels drain down instead of holding water that can cook or freeze. This is the single most-skipped part on DIY installs.
- Temperature sensors: one at the pool, one at the collector. The controller compares them and only diverts water when the collectors are actually warmer than the pool, otherwise it bypasses, which is how the system avoids cooling your pool on cloudy mornings.
Commissioning and First-Run Checks
Once the plumbing is glued and cured, commission the system before you call it done:
- Purge air: run the pump with the diverter set to the array and let it push air out through the returns. Air pockets are the number-one cause of weak heat on a new install.
- Check flow: confirm water moves through the array at the target rate you calculated during sizing. Low flow means a kinked line, a closed valve, or an undersized pump.
- Check for leaks: inspect every connector and joint dry, then recheck after an hour of running.
Can You Install a Solar Pool Heater for an Existing Pool?
Yes. A solar pool heater for an existing pool works with almost any setup, including older pools and odd shapes. The collectors only need a pump with enough pressure, a spot in the sun, and a plumbing tie-in.
A few compatibility notes:
- Inground pools: Straightforward. The equipment pad usually has room for the valve.
- Above-ground pools: Ground-mounted racks work well, and the plumbing run is short.
- Vinyl liner pools: Fine, since the system heats water, not the shell.
One real constraint: your existing pump must handle the collectors' extra flow resistance. Most do; if yours is undersized, a booster or pump upgrade solves it.
Solar Pool Heating vs Gas Heater: Which Fits Your Home?
Solar wins on operating economics, and it isn't close. A gas heater burns fuel every hour it runs. Solar uses the sun, which costs nothing after the system is up. That's why solar pays for itself quickly while a gas heater keeps billing you for as long as you own it.
| Factor | Solar Pool Heating | Gas Heater |
|---|---|---|
| Ongoing energy cost | None beyond the pump you already run | Fuel cost every hour of use |
| Maintenance | None | Annual service and repairs |
| Heating speed | Slower, steady warming | Fast |
| Best for | Extending the season | Quick heat for occasional use |
| Lifespan | Long, with simple care | Shorter, with more service |
Where gas still earns its place is on-demand heat for a single weekend. For season-long warmth, solar is the better fit and the lower-cost choice over time.
Commissioning, Testing, and Troubleshooting Your New System
Commissioning is where you prove the installation works. Run the pump with the diverter valve set to send water through the collectors. Then check the basics:
- Flow: Confirm water moves through the array with no air pockets
- Leaks: Inspect every connector and joint, dry, then recheck
- Temperature: Feel the return water. It should run warmer than the pool
Troubleshooting follows the same order every time. Weak heat usually means air in the lines, a valve set wrong, or shading you didn't notice. A pressure jump points to a clogged filter or a kinked line. Leaks almost always trace back to a connector that wasn't fully seated.
Residential Pool Solar Panel Installation: DIY or Professional?
Professional installation is the right call for most homeowners: the panels are simple, but the roof work and plumbing tie-in are not. A leak you create on a roof can cost more to fix than the labor you saved.
Do it yourself if you have all of these:
- A single-story roof you're comfortable working on
- Solid PVC plumbing experience
- A helper for lifting panels
Hire a pro if any of these apply:
- Two-story roof or steep pitch
- Tile or metal roofing
- An older pool with unusual plumbing
At Solar Pool Heating Texas, our crews handle both residential and commercial systems, we back the work with a 100% satisfaction guarantee, and we're available 24/7 for emergency repairs.
Frequently Asked Questions
Can I install pool solar panels myself?
You can handle a residential pool solar panel installation yourself if you are comfortable on a roof or working with PVC plumbing, but the job involves sizing the collector area, laying out panels for maximum sun exposure, and tying into the pool's return line without leaks. Most homeowners choose a professional crew because mistakes in flow control or mounting can cut heating performance and lead to repairs. A professional installation also ensures the system is matched to your pool pump and existing plumbing.
How many solar collectors does a residential pool need?
The number of solar collectors depends on your pool's surface area, not its volume. As a general rule, the collector area should equal roughly half to three-quarters of the pool's surface area, with more coverage in cooler climates or for pools that lose heat quickly. A pool solar collector placement plan that avoids shading and faces the sunniest direction will get more heat from fewer panels. A site assessment confirms the right count for your pool.
How long does residential solar pool heating installation take?
A typical residential pool solar panel installation takes one to three days for a standard roof-mounted system, depending on the number of collectors, roof access, and how complex the plumbing tie-in is. Ground-mounted arrays or systems with long pipe runs can take longer. Professional crews usually complete the panel layout and mounting on day one, then connect panels and tie into the pool plumbing on the following days before commissioning and testing the system.
How does solar pool heating compare with a gas heater?
Solar pool heating uses the sun to warm water circulating through collectors, so it adds no fuel cost to your monthly bill and needs no maintenance. A gas heater warms water quickly on demand but burns fuel every time it runs, which drives up operating costs. For Texas pool owners who want to extend the swimming season without rising energy bills, solar pool heating is the more cost-effective choice over time and pays for itself quickly.
Heating a pool shouldn't mean watching the meter spin. Solar pool heating is the smartest, most cost-effective route: no maintenance headaches, a fast payback, and a swimming season that stretches months longer than it used to. That's why Texas pool owners keep choosing solar over gas and electric. Get started with Solar Pool Heating Texas and get a free consultation on the right system for your pool, your roof, and your season.